-
1st Floor, No.89 Maqian Road, Sanxiang Town, Zhongshan City
How to Seal Your Kitchen Sink to the Countertop: A Complete Guide
You look at the joint around the sink and think, “It’s just a small gap.” But that tiny gap can kill a cabinet, grow mold, and even ruin a new countertop.
In this guide we walk through real-world sealing steps that installers, project buyers, and OEM clients actually use on site. We also show you where a better sink spec helps you avoid after-sale headache, so your team don’t keep going back for rework.
Table of Contents
Why Sealing Your Kitchen Sink to the Countertop Matters
When the seal fails, you don’t only get a little drip. You get:
- Swollen board in the cabinet
- Smell around the sink
- Black mold line that is hard to clean
- Complaints from end users and bad review on your SKU
For drop-in and countertop sinks, water loves to creep under the rim. For undermount sinks, it runs straight into the seam between stone and steel.
A proper seal does three jobs at once:
- Stops water from entering the cabinet and substrate.
- Keeps food waste out of the gap, so no bio-film and bacteria party there.
- Gives a little “cushion” so the sink and countertop can move with heat and not crack the joint.
If you’re a retailer or project buyer, this is not just a “nice to have”. A bad seal can eat your margin through warranty calls.
Best Sealant for Kitchen Sink and Countertop Joint
For the joint itself, most pro installers stick to silicone. Not all sealant is same though.
Kitchen Sink Sealant Comparison Table
| Sealant type | Where to use | Pros | Cons |
|---|---|---|---|
| 100% silicone (kitchen & bath grade) | Joint between sink rim and countertop, especially around stainless steel kitchen sinks | Very waterproof, flexible, anti-mildew options | A bit harder to clean off, need dry surface |
| Siliconized acrylic | Low splash areas, small touch-ups | Easy to apply, cleans with water | Weaker in long-term water, can shrink |
| Plumber’s putty | Under drain flange, around some faucet bases | Stays soft, good for metal-to-metal | Not for visible rim, can crack, not great for big gap |
| Polyurethane construction adhesive | Sometimes for hidden undermount bonding plus clips | Strong bond, good for stone | Messy, not fun to remove, overkill for simple rim seal |
For the visible joint between sink and countertop, go with 100% silicone marked for kitchen or bath. It handle steam, hot water, and daily abuse.
If you’re speccing sinks for a line of products, you can pair that with SUSINKS bowls in 16 or 18 gauge to reduce flex. Less flex means the silicone bead live longer.
How to Prepare the Sink and Countertop Before Sealing
Prep is boring, but it decides if your seal lasts one month or many years.
- Remove old sealant completely Use a plastic scraper or utility knife and take your time. Any old silicone left on the rim will stop the new bead from bonding.
- Degrease the area Wipe the rim and countertop edge with dish soap and water, then with alcohol. Grease from cooking or hand lotion sits there even if it “looks” clean.
- Dry everything The surface must be dry. If you just washed dishes, wait a bit. Silicone and standing water dont mix well.
- Mask the joint Put painter’s tape on both sides of the gap and leave a narrow channel. This gives you a clean, factory-style line after you pull the tape.
If your client uses a good quality stainless steel kitchen sink, edges are usually flatter and easier to tape, which saves install time.
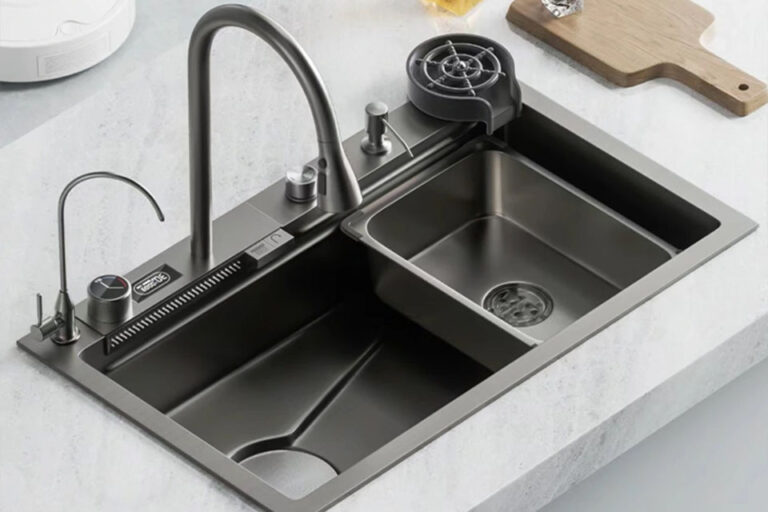
Step-by-Step Guide to Seal a Drop-In Kitchen Sink
This fits typical topmount or countertop sinks in laminate, solid surface, or stone.
Practical Sealing Workflow for Drop-In Kitchen Sinks
- Lift or loosen the sink If it’s a new install, keep it out first. If it’s existing, loosen clips and lift just enough to clean under the rim if possible.
- Run a continuous bead Cut the silicone nozzle at a small angle. Run a steady bead around the opening on the countertop. No gaps, no shortcuts at corners.
- Set the sink in place Drop the sink straight down, don’t slide it much. Press gently to spread the bead. You should see silicone just start to squeeze out.
- Tighten the clips evenly Work in a star pattern, like you tighten wheel nuts. This keeps pressure even and avoids twisting the bowl, which is important on thin sinks.
- Add a top bead if needed For busy family kitchens or rental units, many installers add a thin bead on the top side between rim and counter for extra insurance.
- Tool the bead Wet a finger or use a caulk tool. Smooth the silicone in one direction so it makes a slight concave curve. Don’t overwork it.
- Pull the tape right away Remove the painter’s tape while silicone is still soft. You get a crisp edge that looks like factory finish.
- Let it cure Follow the label. Normally you avoid heavy water use for at least one day. Tell your customer this clearly, otherwise they open the tap right away.
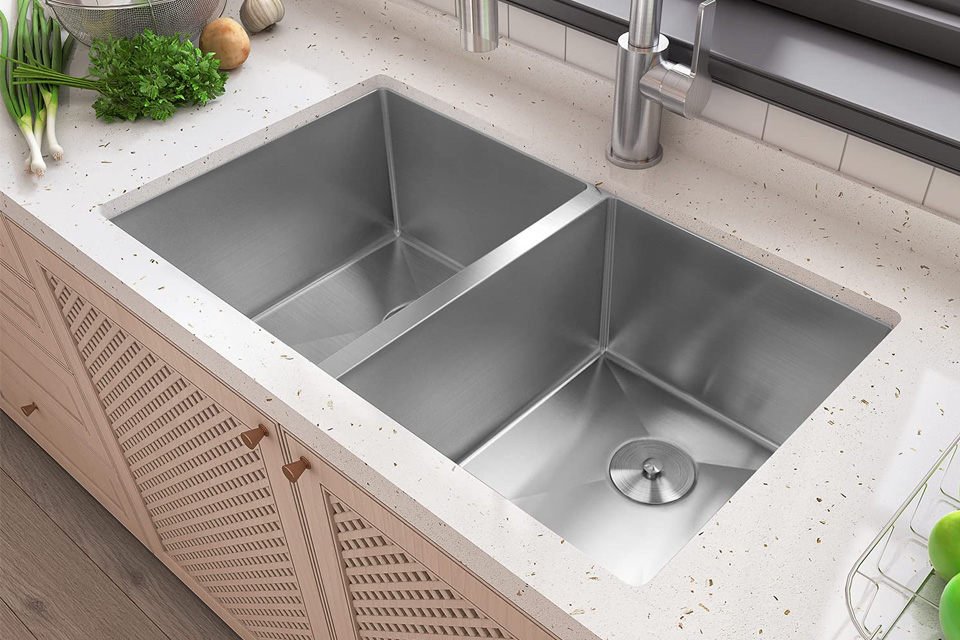
For large double bowl kitchen sink models, this even pressure and cure time is more critical. More metal, more weight, more stress on the joint.
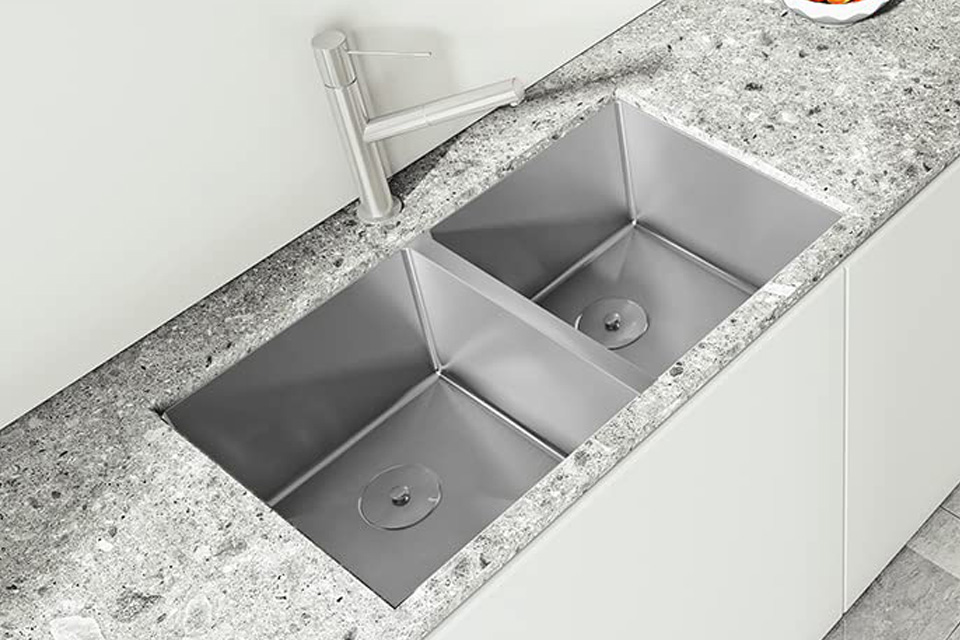
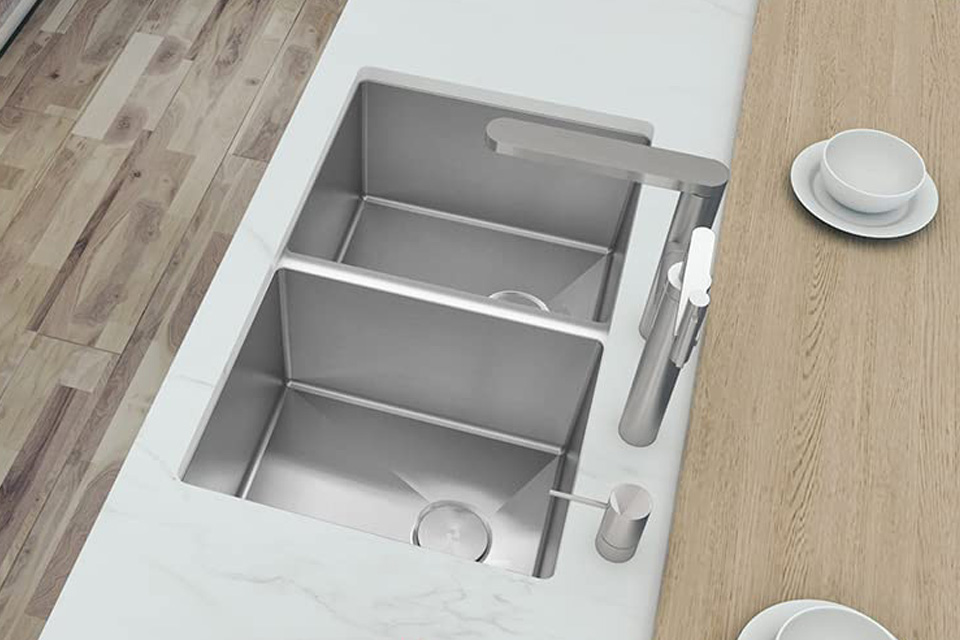
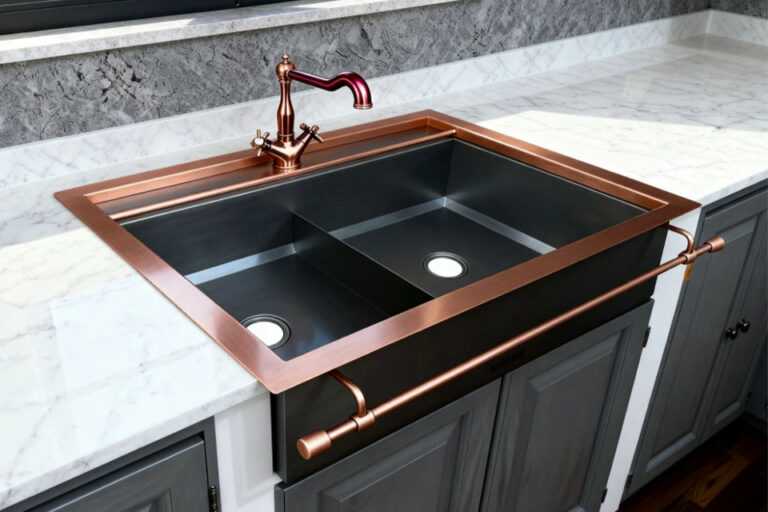
How to Seal an Undermount Kitchen Sink to Stone Countertops
Undermount looks clean, but it punishes bad sealing. You deal with both water and gravity.
Typical combo is an undermount bowl on quartz, granite or other solid surface. If you sell undermount sinks together with tops, this part is where your installer earns his coffee.
Undermount Kitchen Sink Sealing Steps
- Check the mechanical support first The sink must sit on clips, rails or a frame. Sealant is not the main “hanger”. If the bowl already sags, fix support before you touch silicone.
- Clean and dry the stone edge Stone edge often has dust from cut, or polish compound. Wipe it with alcohol and a lint-free cloth.
- Run silicone along the stone edge Apply a continuous bead where sink lip touches the underside of the countertop.
- Push the sink into position Lift and press the sink so the lip beds into the silicone. Tighten the clips or bracket set. Check reveal all around, both from top and bottom.
- Seal from the top From the countertop side, run a thin bead in the tiny gap between stone and steel. Tool it so it’s smooth and slightly inward.
- Coordinate with countertop choice If you are still at design stage, pair your undermount bowl with a solid stone top. There is a full guide on kitchen countertops for undermount sinks on the SUSINKS blog that you can forward to designers.
On projects with many undermount units, teams often write this sequence into the installation SOP, so every installer follow same play.
Common Mistakes When Sealing a Kitchen Sink
You can avoid most callbacks if you dodge these traps.
Typical Sealing Problems and How They Show Up
| Mistake | What the client sees later | Simple fix in your process |
|---|---|---|
| Using cheap acrylic caulk in wet joint | Black, moldy line in a short time | Use kitchen-grade silicone only |
| Not removing old silicone | New bead peels off in strips, water gets under | Add “full removal” step to your checklist |
| Applying sealant on wet surface | Bubbles, poor adhesion, leaks under rim | Always dry, even use towel and wait a bit |
| No top bead on heavy use sink | Crumbs and coffee stain the tiny gap | Add small top bead on family or rental jobs |
| Rushing cure time | Seal breaks when user leans or cleans hard next day | Tell user clearly about curing, maybe label |
Sometimes the problem isn’t only the seal. A very thin, noisy bowl flex a lot when you drop a pot. That can crack the silicone line again and again. Upgrading to a better single bowl sink or heavier gauge model helps long term.
How Often to Reseal a Kitchen Sink in Real Life Projects
There is no magic number. It depends on:
- Family vs light use pantry
- How often they splash and leave water
- Cleaning habits and chemicals
- Quality of the first install
Simple rule that many facility teams use:
- Visual check every year during cleaning or small renovation.
- Reseal when you see cracks, gaps, or dark stains that don’t clean off.
If you manage multiple units or do B2B projects, you can plug this into your maintenance plan. It reduces sudden “emergency” visits when water already damaged the cabinet.
Where SUSINKS Helps on Sealing Side
All this works better when the sink itself is right.
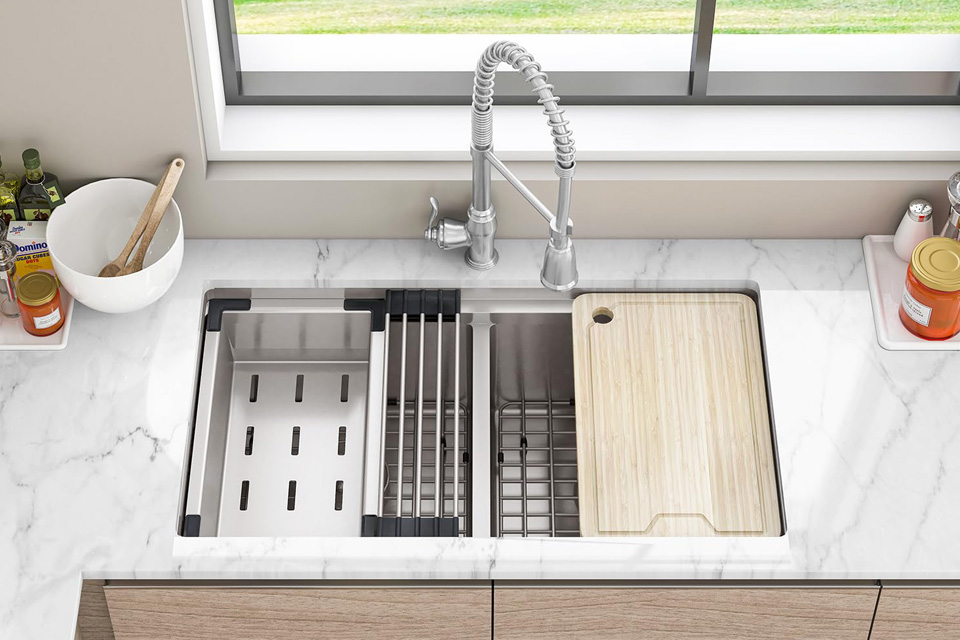
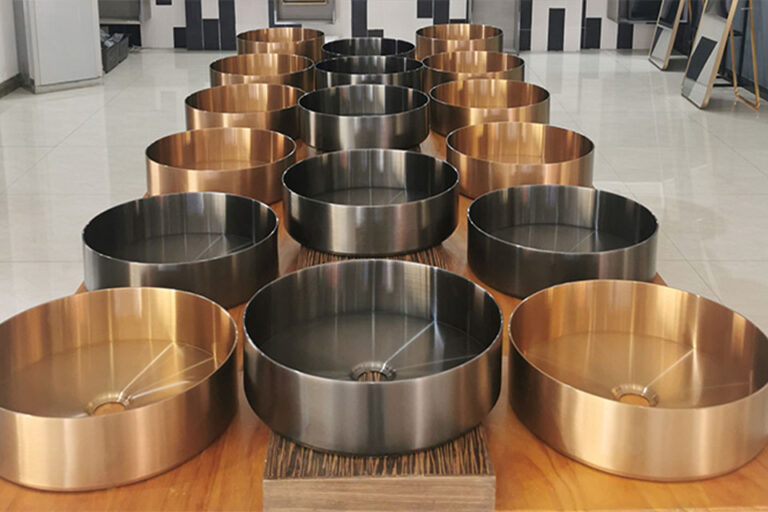
On SUSINKS you can source OEM and ODM stainless steel kitchen sinks with:
- Flat, well-polished rims for easier sealing
- Multiple installation types, from kitchen sinks to farmhouse and undermount options
- Bowl configs that match your market, both double bowl and single bowl
For retailers, brand owners, e-commerce sellers, distributors, design studios, and purchasing managers, this means:
- One factory that understands spec sheet, MOQ, and timeline
- Less install drama for your downstream installer
- Fewer complaints about leaking or mold around the rim
Seal the sink right once, and the joint almost disappear from your after-sales dashboard. That’s the quiet part of the product, but it keeps your kitchen program running smooth.
Stainless Steel Sinks Manufacturer
Leading Chinese stainless steel sink maker for kitchen, bathroom, bar and RV; premium single & double bowls, OEM/ODM services for clients and brands worldwide!
Quick Links
Products
Contact
© 2025 China Kitchen Sink | Stainless Steel Sinks Manufacturer