-
1st Floor, No.89 Maqian Road, Sanxiang Town, Zhongshan City
A Complete Guide: How to Install a Farmhouse Sink
If your customers keep asking for farmhouse sinks, you’re not alone. This apron-front style is hot in kitchen projects, and as a buyer or retailer you want more than nice photos. You need to know how the sink installs, where it can fail, and how to avoid after-sales trouble.
In this guide, we’ll walk through the full process of installing a farmhouse sink, with real project scenarios that fit OEM/ODM, bulk orders and retail programs.
SUSINKS has been making stainless steel sinks and faucets for decades as a Top Stainless Steel Sinks Manufacturer In China, so we see these questions from purchasing managers every day.
Table of Contents
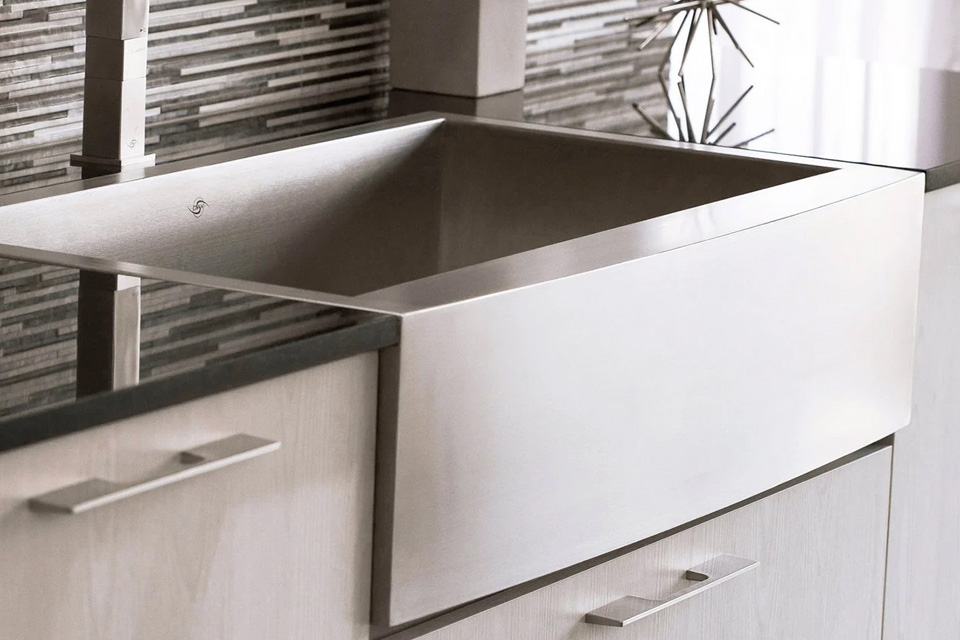
What Is a Farmhouse Sink and Why Your Client Loves It
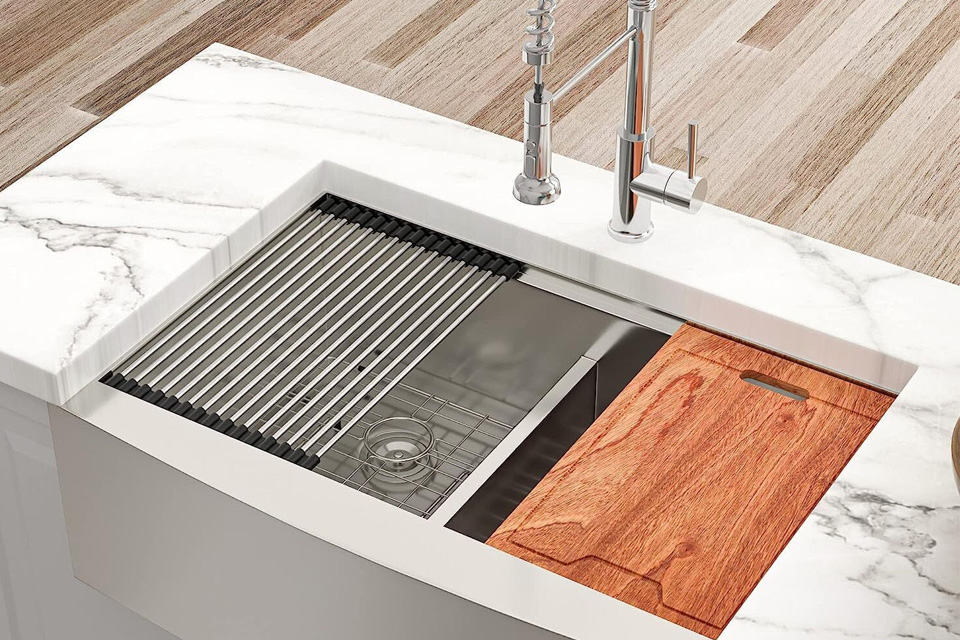
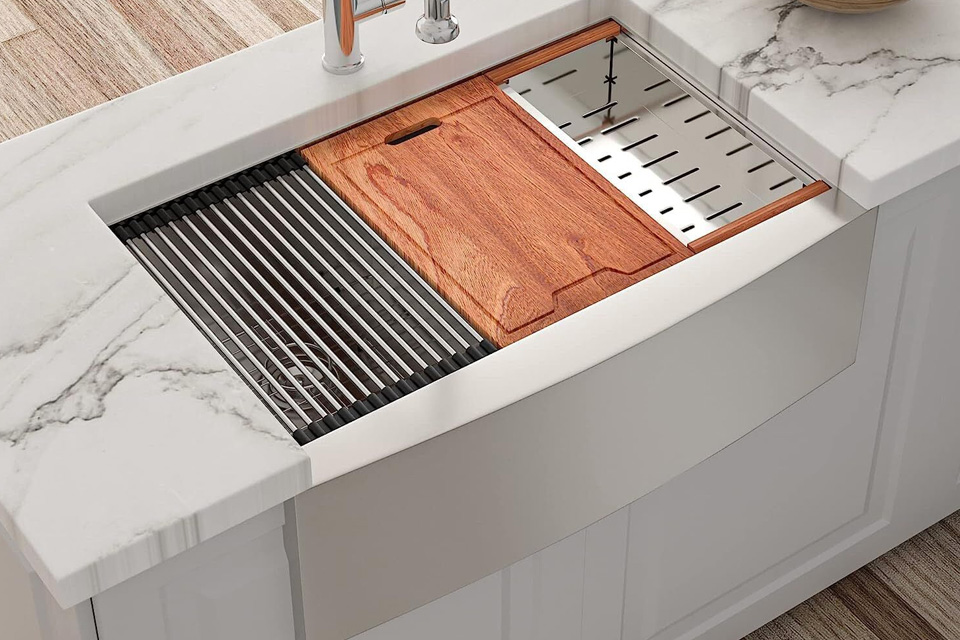
A farmhouse sink (also called an apron-front sink) has:
- A deep, wide bowl
- A front panel that shows outside the cabinet
- A bold, “pro kitchen” look
When you offer a stainless steel farmhouse sink, you give your customer:
- More space to wash large pots, trays and baking pans
- Easier cleaning, because they can pull items close to the front
- A strong design focus in the kitchen
For brands, this style means higher perceived value. For installers and project managers, it means heavier sink, more work on cabinet and countertop, and sometimes more risk if they don’t prepare well.
Farmhouse Sink Installation Tools and Materials
Even if you don’t install sinks yourself, it helps to know what your partners will use. A typical installer will prepare:
- Tape measure and marker
- Level and straight edge
- Jigsaw or other cutting tool for countertop
- Drill, screws, brackets or support frame
- Silicone sealant and caulk gun
- Plumber’s putty (for the drain)
- Pipe wrench, PVC parts, and basic plumbing tools
When you sell a double bowl farmhouse sink, many contractors also build a support frame from wood under the bowl, especially for heavy sinks.
Here’s a quick view that you can even share with your B2B clients:
| Step in project | Who usually handles it | What you should care about as buyer |
|---|---|---|
| Measure cabinet and space | Installer / designer | Check your sink size and cut-out spec matches SKU |
| Build support frame | Installer / carpenter | Make sure product weight info is clear |
| Cut countertop opening | Countertop fabricator / installer | Give accurate technical drawing |
| Place and level sink | Installer | Confirm apron-front alignment is OK |
| Connect plumbing | Plumber / installer | Avoid layout that makes drain too tight |
A small mistake on the drawing side can create a big after-sales story later, so you don’t want that.
Planning the Farmhouse Sink Installation
Check Cabinet and Countertop Conditions
Before anyone touches the saw, they need to check:
- Cabinet width and depth
- Cabinet material and strength
- Countertop type: laminate, quartz, stone, solid surface, etc.
- Space for the apron front
If your client uses existing cabinets, they may need to cut the front panel and add support. For new projects, many brands choose custom cabinets that perfectly match a single bowl farmhouse sink.
You can help by providing:
- Clear cut-out size
- Minimum cabinet size
- Installation type (topmount, undermount, flush-mount)
Choose the Mounting Type
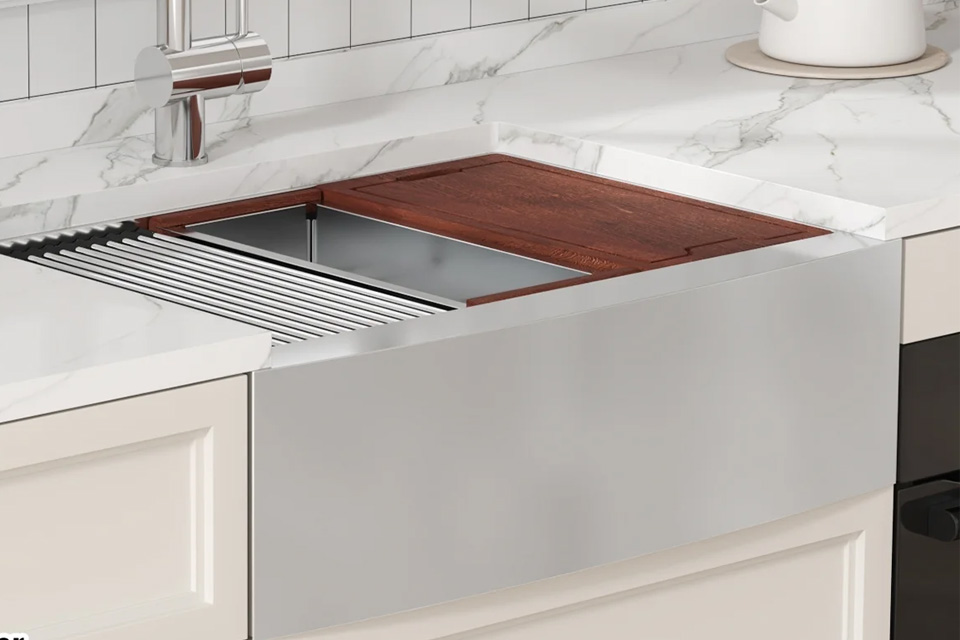
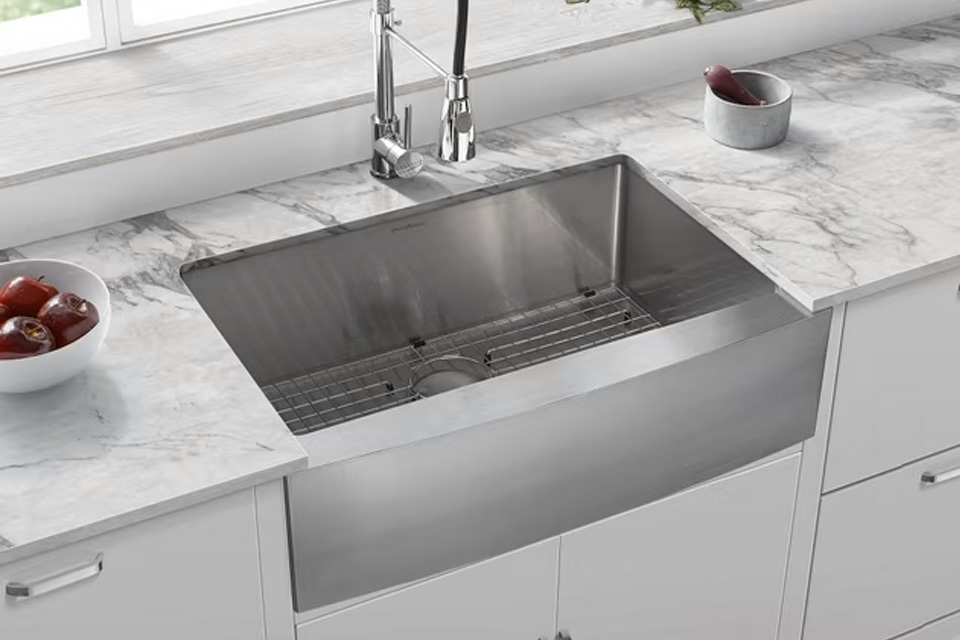
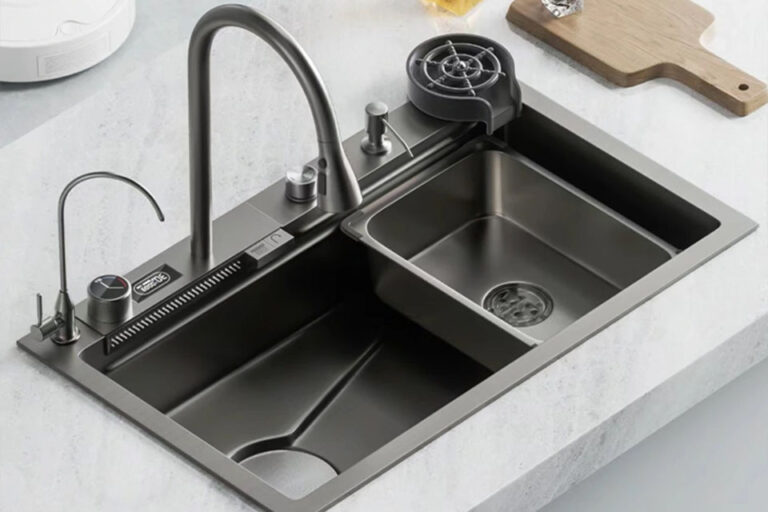
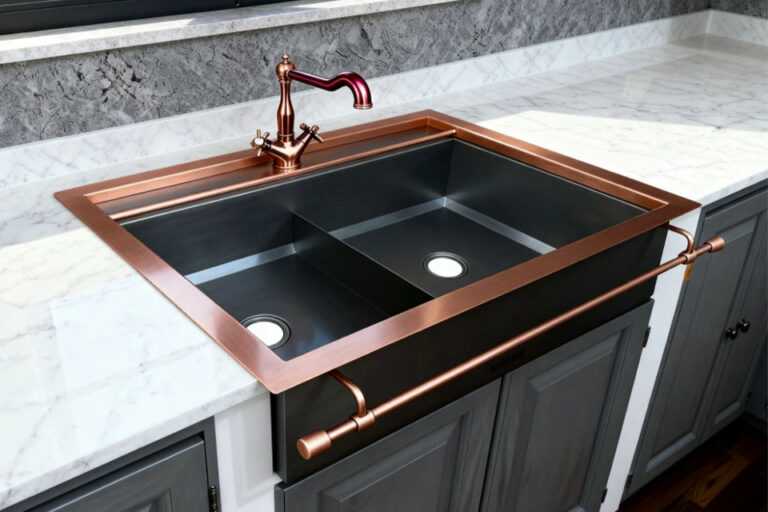
For stainless steel farmhouse sinks, you often see these mounting choices:
- Topmount farmhouse sink
- Undermount farmhouse sink
- Flush-mount / near-flush install
If the client wants a clean, easy-to-wipe counter, you can guide them to an undermount farmhouse sink. If their countertop is more basic, topmount can be simpler and more forgiving.
In many projects, the architect or designer decide this, but your product sheet should talk this very clear, not just “farmhouse sink, ok”.
How to Install a Farmhouse Sink Step by Step
Every brand and installer has small differences, but the core steps are similar.
1. Build or Adjust Cabinet Support
For a quality farmhouse sink, the cabinet should carry the weight, not the countertop alone.
Typical steps:
- Remove the old sink and check the cabinet
- Add side supports or a full wood frame under the bowl
- Make sure the frame is level from left to right and front to back
- Test with the sink: it should sit evenly, no rocking
For heavy stainless steel models like our undermount double bowl stainless steel kitchen sink factory SKUs, this frame is really not optional.
2. Cut and Test the Countertop Opening
Next, the installer will:
- Mark the cut-out lines based on the sink template
- Cut slowly with a jigsaw or other tool
- Dry-fit the sink into place
- Adjust cut edges little by little
At this step, many problems born already: if the opening is too large, the seam line looks ugly; if it’s too small, the sink doesn’t sit flat and they start to fight with shims.
3. Set the Sink and Seal the Edges
Once the opening is correct:
- Apply a bead of silicone along the top of the support frame
- Gently lower the sink into place
- Check the apron-front alignment with the cabinet doors
- Clamp or secure as needed
- Run a clean bead of silicone around the joint between sink and countertop
This seal stops water from going into the cabinet. If the installer rush and don’t clean extra silicone, the seam looks messy and the end customer will complain the “finish quality is low”.
4. Connect the Plumbing and Test for Leaks
Finally, the plumbing work:
- Install the drain fitting with plumber’s putty
- Attach strainer, P-trap, and other pipes
- Connect faucet, hoses, and accessories
- Run water and check every joint for leaks
- Fill the sink and do a small “flood test”
For projects that use a custom stainless steel undermount sink, the drain location might move compared to the old sink, so the plumber may adjust pipes under the cabinet.
Installing a Farmhouse Sink in Existing Cabinets
Many B2B customers don’t start from empty shell kitchen. They upgrade.
Here’s what usually happens when they retrofit:
- Remove the false drawer front under the old sink
- Cut the front of the cabinet so the apron can slide in
- Strengthen the sides with extra wood
- Build a new support frame inside
- Reuse or replace front trim to hide cuts
This work needs a bit more skill. If your end users are DIYers, you can recommend they work with a pro when buying a stainless steel kitchen sink collection, not only for safety but to protect the cabinet.
To help them, you can provide:
| Retrofit challenge | Simple explanation you can give client | What SUSINKS can offer |
|---|---|---|
| Cabinet not strong enough | “You may need extra wood support under sink.” | Tech drawings with load info |
| Old cut-out doesn’t fit farmhouse sink | “Carpenter must re-cut and adjust the opening.” | Flexible size options for OEM |
| Drain doesn’t line up | “Plumber will re-route the pipes a little.” | Clear drain position on drawings |
Even simple language like this makes you look more professional in front of the buyer, even if you are not on the job site.
Common Farmhouse Sink Installation Problems and How to Avoid Them
Some issues show up again and again in project feedback:
- Sink is not level
- Gap between countertop and apron front
- Water pooling near the corners
- Cabinet front cracking after some months
- Noise or vibration when washing heavy pots
How to prevent these?
- Use a strong, flat support frame under the sink
- Always check level with a spirit level, not just “by eye”
- Follow the radius and channel design of quality sinks like our double bowl stainless steel finish farmhouse kitchen sink SKUs, which help drainage
- Don’t oversize cut-out, keep seam tight and clean
- Use sound-deadening pads and proper undercoating when possible
Sometimes installer think “it looks ok already”. But when the client fills the bowl with water, the small slope error suddenly become very obvious.
Farmhouse Sink Installation Tips for B2B Buyers and Brands
You’re not doing the cutting and sealing yourself, but you can still reduce project risk.
Practical tips:
- For large orders, ask SUSINKS to confirm all technical drawings with your designer before mass production
- Group similar SKUs (same cut-out size) in one project, so installers don’t need re-learn every time
- Add install guides or QR codes in the box for cross-border e-commerce and platform sellers
- Talk clearly about mounting type in your product page, don’t just write “farmhouse sink” and hope customer guess
- For design companies and brand agencies, use the apron-front style as a visual highlight in your renderings, but also share real install notes with your contractors
As an OEM/ODM partner, SUSINKS can adjust bowl depth, apron height, and radius to match your market’s usual cabinet systems. That means less cutting on site and fewer “this sink doesn’t fit” emails later. Sometimes just 5 mm change in design makes installer life much easy, even if end user can’t see it.
This is how a farmhouse sink goes from carton to working center of the kitchen. When you understand the installation journey, you can select better products, communicate with installers in their language, and protect your brand from avoidable after-sales trouble.
SUSINKS is ready to support your custom sink projects, from single bowl farmhouse sink lines to full stainless steel farmhouse sink programs for retailers, wholesalers, design studios and purchasing managers.

Stainless Steel Sinks Manufacturer
Leading Chinese stainless steel sink maker for kitchen, bathroom, bar and RV; premium single & double bowls, OEM/ODM services for clients and brands worldwide!
Quick Links
Products
Contact
© 2025 China Kitchen Sink | Stainless Steel Sinks Manufacturer