-
1st Floor, No.89 Maqian Road, Sanxiang Town, Zhongshan City
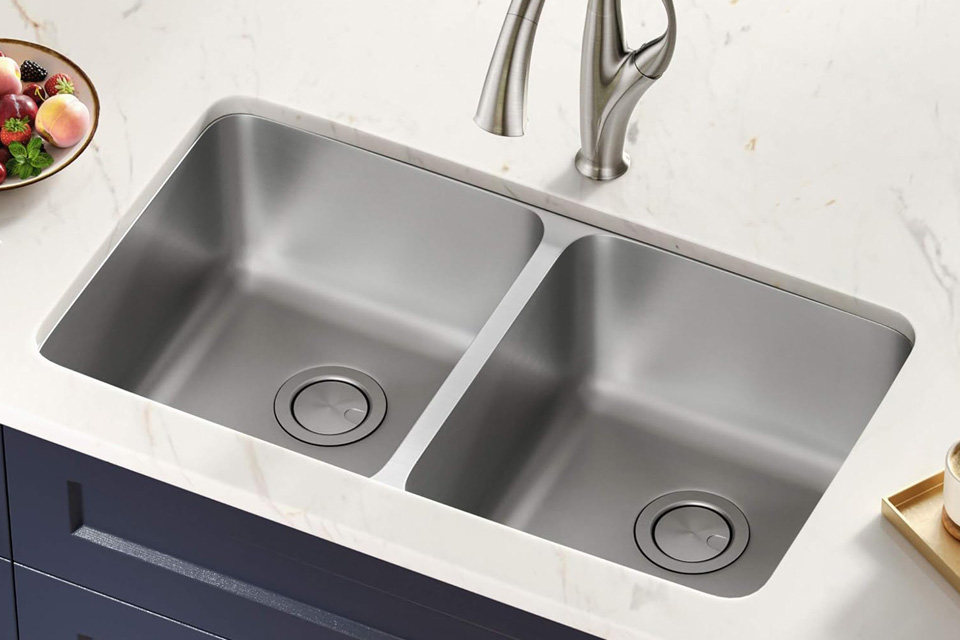
How to Install a Double Bowl Kitchen Sink: A Complete Guide
You can install a double bowl sink in a day. Plan first, then move step by step. I’ll show you both drop-in and undermount methods, the plumbing layout, and a few field tips you only learn on jobsites. Along the way, I’ll point to SUSINKS options so you can spec the right sink for your team and your buyers.
Table of Contents
Tools and Materials for Double Bowl Sink Installation
Have everything ready so you don’t crawl out of the cabinet ten times.
Core tools Tape measure, pencil, jigsaw, drill, hole saw (for faucet/soap), adjustable wrench, channel locks, screwdriver set, utility knife, level, rags. A headlamp helps. Knee pads too.
Plumbing parts Two basket strainers, two tailpieces, sanitary tee (or double-wye with baffle), P-trap kit, extension tube, slip-joint nuts and washers, Teflon tape, plumber’s putty or 100% silicone, dishwasher air-gap or high-loop parts, disposal elbow (if used).
Mounting Sink clips or rails, alcohol wipes, silicone bead for rim or undermount joint, wood cleats (sometimes), helper. Yes, a helper—sink is heavy and awkward.
For procurement and SKUs, see wholesale double bowl sinks or go straight to an undermount double bowl sink factory. SUSINKS does OEM/ODM, custom hole counts, and R10 radius corners on request.
How to Measure Cabinet and Cut the Countertop Opening
- Confirm cabinet width. Most 33–36 in base cabinets take common double bowls. Check door interference and waste kit clearance.
- Mark the cutout. Use the template. If none, flip the sink, trace the outer rim, then offset inward by the rim width.
- Drill starter holes at the corners, then cut with a jigsaw along the line. Keep the saw shoe flat; let the blade work.
- Dry-fit the sink. Rim should sit flat; bowls drop clean.
- Prep the surface. Clean dust and oils so silicone bonds.
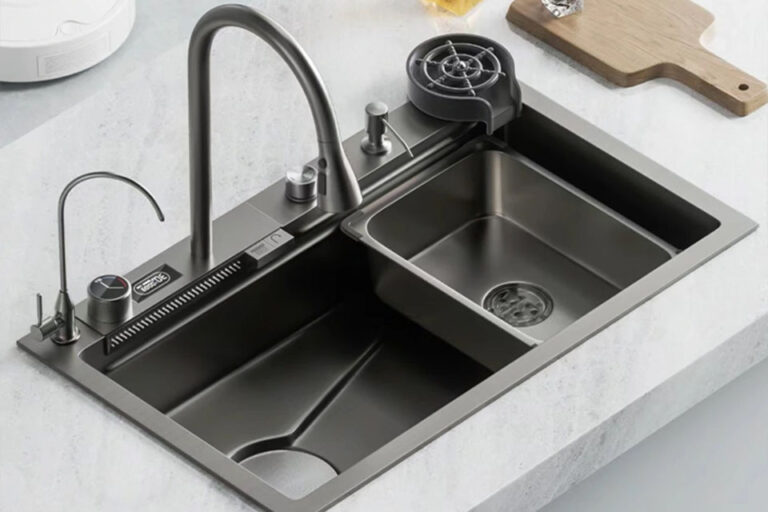
Need a drop-in option? See our double-basin topmount stainless steel sinks. Want reversible layouts? Check two-bowl reversible undermount.
Pre-Assembly: Strainers and Faucet Setup
Do as much as you can before the sink is in the hole.
- Pack plumber’s putty (or apply silicone) under each basket strainer flange.
- Set the strainer, install the rubber and friction washers below, then tighten the locknut. Snug is good; don’t overtighten and crack anything.
- If your faucet mounts to the sink deck, install it now. Connect supply tails finger-tight so they don’t spin later.
- If using a disposal, pre-assemble the mounting ring to the left or right bowl (common choice: right).
Drop-In Double Bowl Sink Installation Steps
- Run a continuous silicone bead around the cutout.
- Lower the sink carefully, front edge first, then back. Keep the rim centered.
- From below, attach sink clips. Tighten in a cross pattern a little at a time.
- Wipe squeeze-out, then check level. If the rim bows, back off and re-seat. It happens.
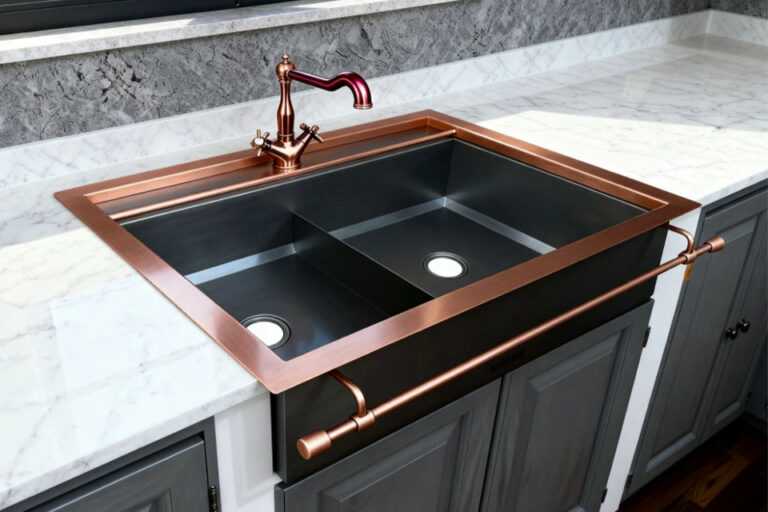
Looking for a farmhouse variant? See the double bowl farmhouse sink. If you need inset/reversible, there’s also our two-bowl stainless steel inset reversible sink.
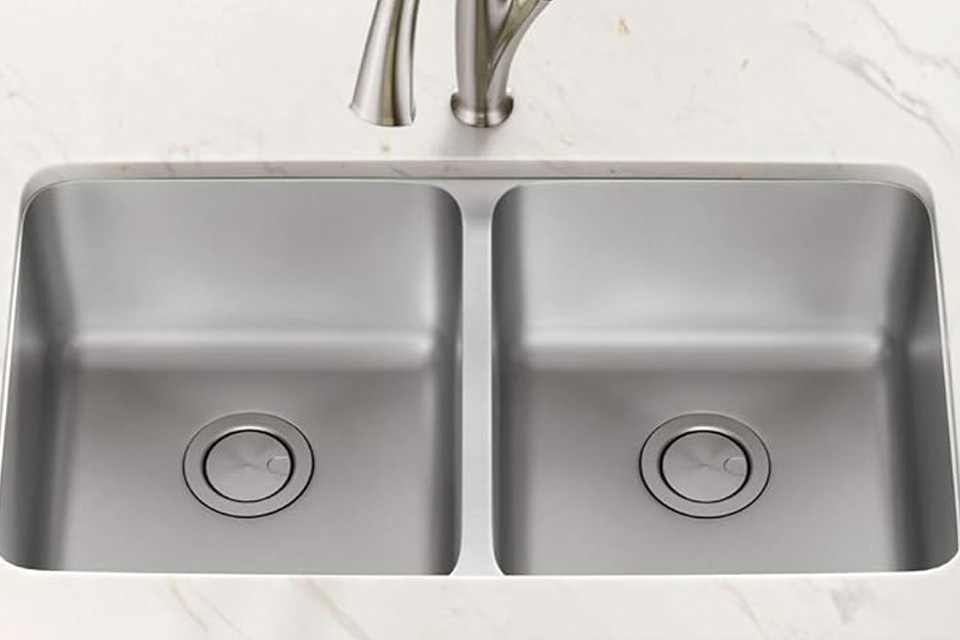
Undermount Double Bowl Sink Installation Steps
- Dry-fit and shim until both bowls sit flush to the underside of stone or solid surface.
- Alcohol-wipe the bonding area; run a neat silicone bead on the sink flange.
- Lift and support. Use rails, clamps, or the supplied brackets. A second set of hands? Non-negotiable on heavy bowls.
- Tighten hardware gradually so the seam stays even.
- Finish with a thin interior caulk line at the counter-to-sink joint.
For bulk orders with pre-mounted clips or templates, see our customized undermount double bowl sink and bulk double bowl kitchen sinks.
Double Bowl Sink Plumbing Layout
- Each bowl drops to its own tailpiece.
- Tailpieces join at a sanitary tee (baffle side helps stop cross-flow).
- Single P-trap runs from the tee to the wall stub-out.
- Keep 1/4 in per foot slope on horizontal runs for self-scouring flow.
- Use slip-joint connections where you might need service; save solvent-weld for fixed parts only.
If you spec sinks for projects, SUSINKS can match outlet positions and centerline distance so your trap arm clears drawers. That’s real first-fix planning, less punch-list later.
Dishwasher and Garbage Disposal Connection for Double Bowl Sinks
- Dishwasher drain: local code may require an air gap; otherwise use a high loop to the disposal inlet or the sink tailpiece branch.
- Disposal hookup: knock out the dishwasher plug, add the elbow/discharge tube, and ensure the baffle tee prevents one bowl from shooting water into the other.
- Power off at the breaker, always. Dont test live.
Leak Testing, Commissioning, and Maintenance
- Cold test first. Fill both bowls, then pull the stoppers to stress the joints.
- Check at the strainers, slip nuts, tee, and P-trap. Re-seat gaskets if you see weeping.
- Run hot water and the dishwasher to test thermal movement and side loads.
- After 24 hours, recheck. Silicone cures, clips relax. A quarter-turn snug is ok.
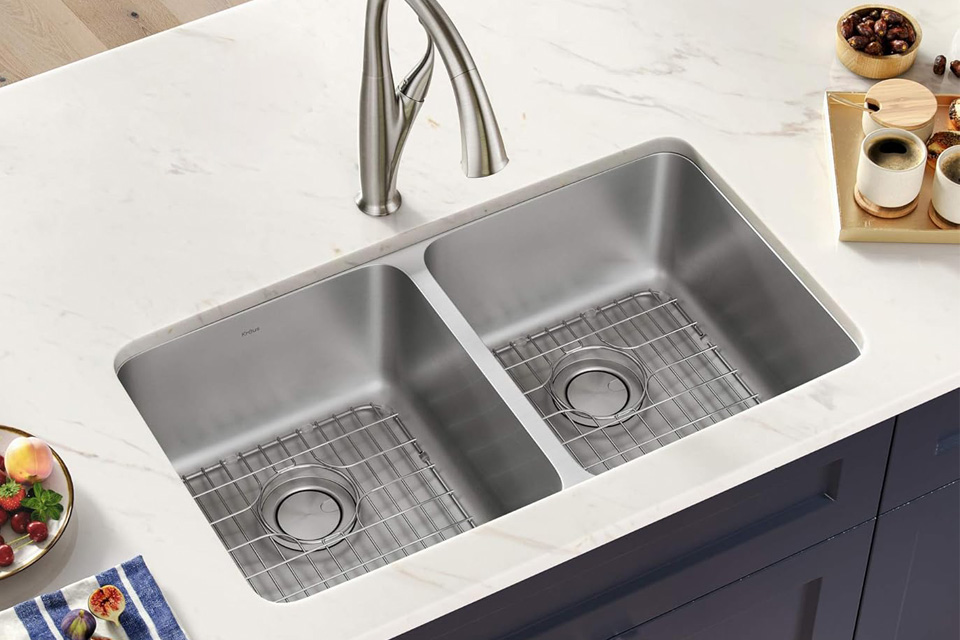
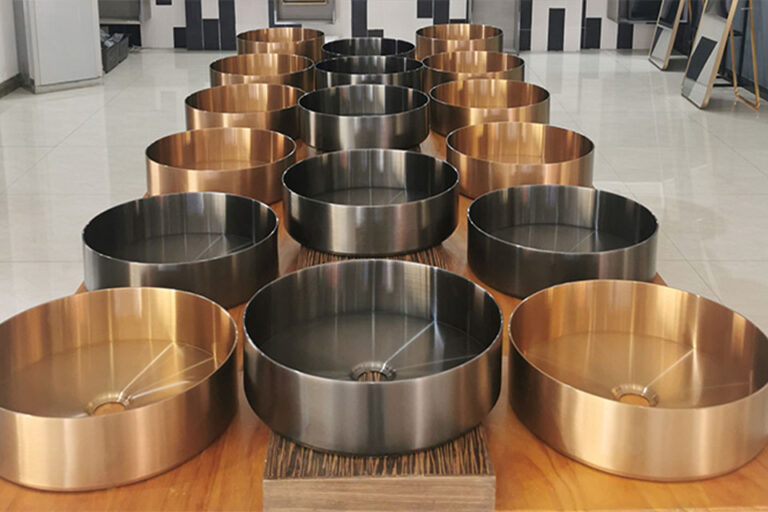
For durable 304 stainless with sound pads and anti-condensation undercoating, browse our undermount double bowl sink factory line and general SUSINKS catalog.
Real-World Scenarios
- Fast retrofit in rental: topmount double bowl, pre-drilled faucet holes, standard strainer set. Less dust, faster turn. Try a topmount vendor series.
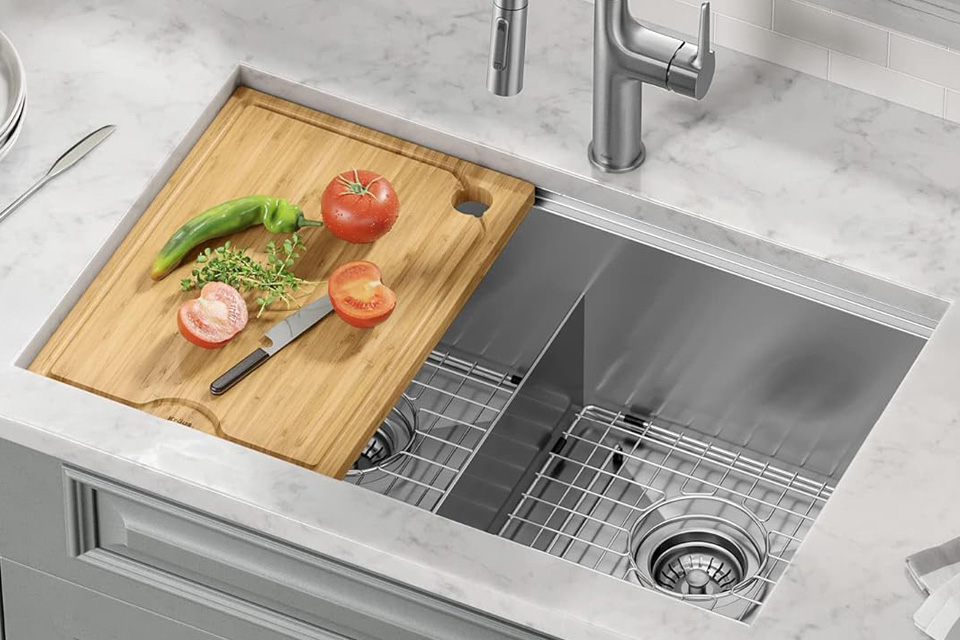
- New quartz with accessories: undermount double bowl with R10 corners, workstation ledge, and matched grids. Check undermount OEM/ODM options.
- Brand line expansion: consistent centerline/outlet to simplify trap kits across SKUs. Pull from one family like our wholesale quality double bowl series. Your installers will say thanks.
- Farmhouse look: apron-front double with thick front wall. Plan clearance and a reinforced rail. See double bowl farmhouse.
Quick Data Table: Stages, Time, Skill, and Typical Risks
| Stage | Typical Time | Skill Level | Common Risks | Pro Tips |
|---|---|---|---|---|
| Measure & template | 30–45 min | Beginner | Mis-trace, wrong offset | Use painter’s tape to see the line; verify rim width |
| Cutout & prep | 20–40 min | Intermediate | Chipout, rough edge | Fresh blade, protect the surface, vac as you cut |
| Pre-assembly | 20–30 min | Beginner | Over-tightening strainers | Snug evenly; don’t crush plastic fittings |
| Mount sink | 20–60 min | Intermediate | Rim warp, uneven seam | Tighten clips in a cross pattern; helper holds level |
| Plumbing hook-up | 30–60 min | Intermediate | Backwash between bowls | Use baffle tee; keep correct slope |
| DW/disposal | 20–40 min | Intermediate | Wrong hose routing | Air gap or high loop; remove disposal knockout |
| Leak test & finish | 15–25 min | Beginner | Slow drips after cure | Re-snug after 24h; re-seal if needed |
Time figures are field estimates, not promises; environment and experience vary. It’s okay-ish if yours differ a bit.
Why This Matters for Buyers, Retailers, and Project Teams
You care about speed, repeatability, and fewer callbacks. SUSINKS supports that with:
- OEM/ODM: custom bowl spacing, faucet hole patterns, overflow positions, and branded accessories.
- Bulk readiness: consistent outlet geometry across a family so the same waste kit fits—real SKU rationalization.
- Install kits on request: matched strainers, clips, and templates in one carton.
- After-sales: spec sheets and drawings make your first-fix smoother and your as-built cleaner.
If you’re scaling a brand, this is the boring but big stuff that keeps margins healthy. You may wanna reach us to align specs early.
See SUSINKS full catalog for more double bowl choices.
Stainless Steel Sinks Manufacturer
Leading Chinese stainless steel sink maker for kitchen, bathroom, bar and RV; premium single & double bowls, OEM/ODM services for clients and brands worldwide!
Quick Links
Products
Contact
© 2025 China Kitchen Sink | Stainless Steel Sinks Manufacturer